HOW DOES IT WORK
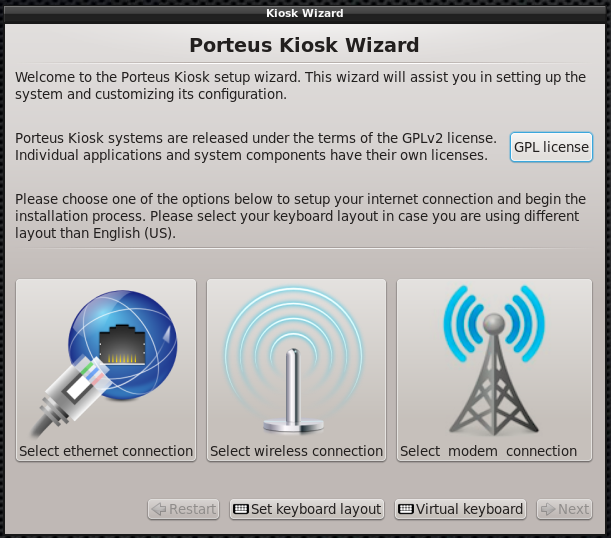
The initial wizard will show up during the first kiosk boot and ask you to configure network connection:
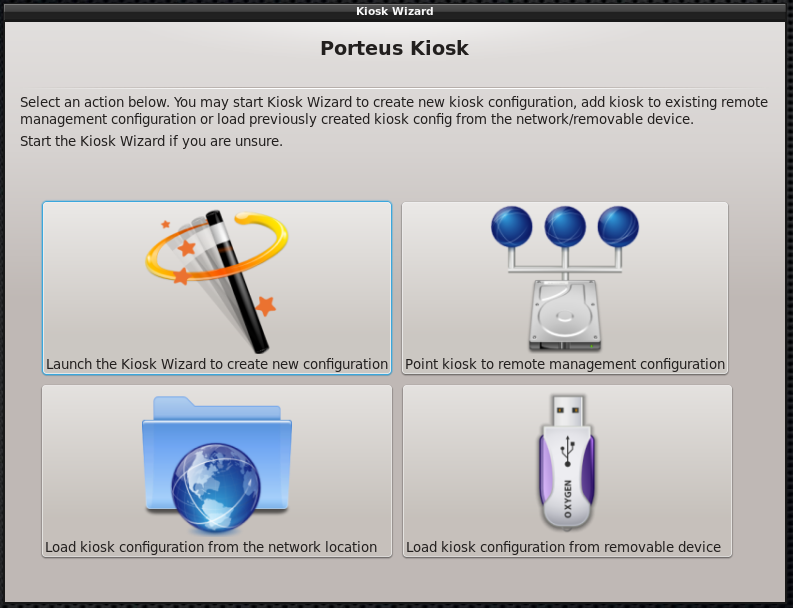
Wizard allows to start new configuration, point kiosk to existing remote config or load previously created config from removable device or network:
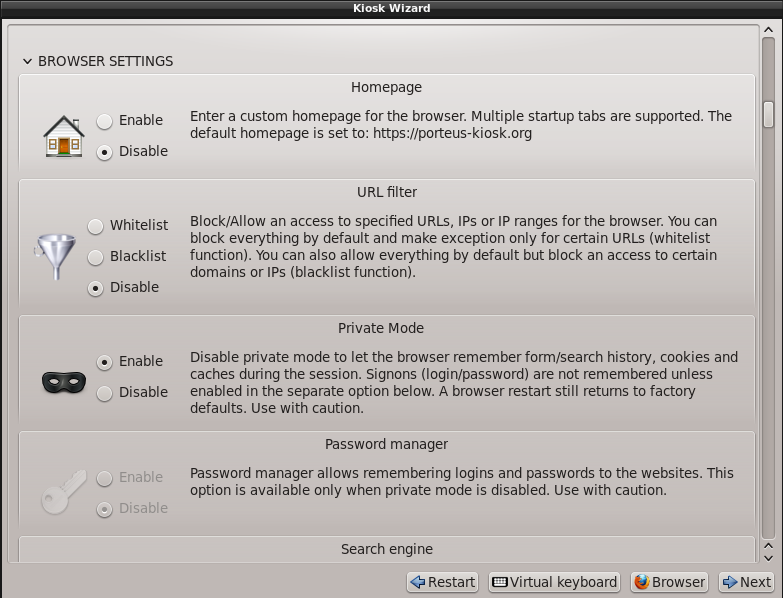
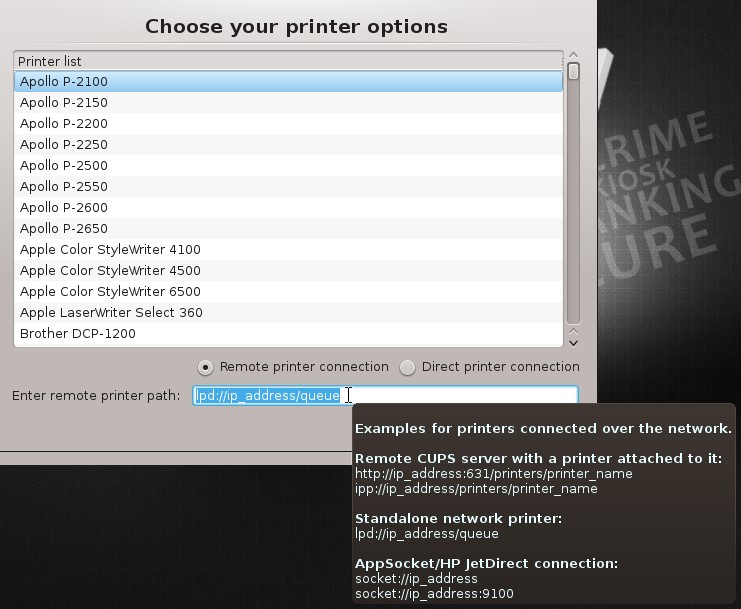
If you start a new configuration you are presented with many options to configure your system:
Each option is well documented with descriptions and tooltips. Please hover the mouse pointer over a certain function or field to see additional informations like in the 'remote printer path' example below:
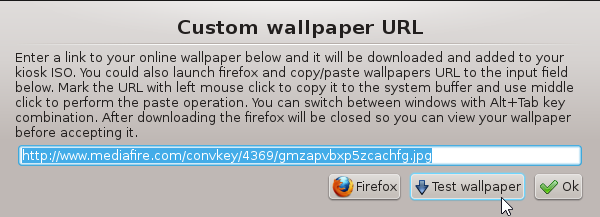
'Test' buttons allow you to check features in real time so please use them whenever possible. Right mouse click is disabled permanently in kiosk but it is possible to launch a browser from the bottom of the wizard UI and copy data like e.g. homepage, list of IPs to be whitelisted, wallpaper URL directly to the input windows. Please navigate to the webpage of your choice, mark the text with a left mouse click to copy it to the buffer and paste it on the input field with a middle mouse click. Please use Alt+Tab key combination to switch between the browser and wizard windows.
Once the configuration part is finished the user is presented with the final config which will be used to configure the kiosk when installing on writable media. It is possible to edit the config manually but please do so with caution. It's better to restart the whole configuration process instead of guessing the parameter names:

On the installation page you will be able to choose the storage device where the kiosk will be installed. It is important to identify and select the correct media so please perform this task carefully:
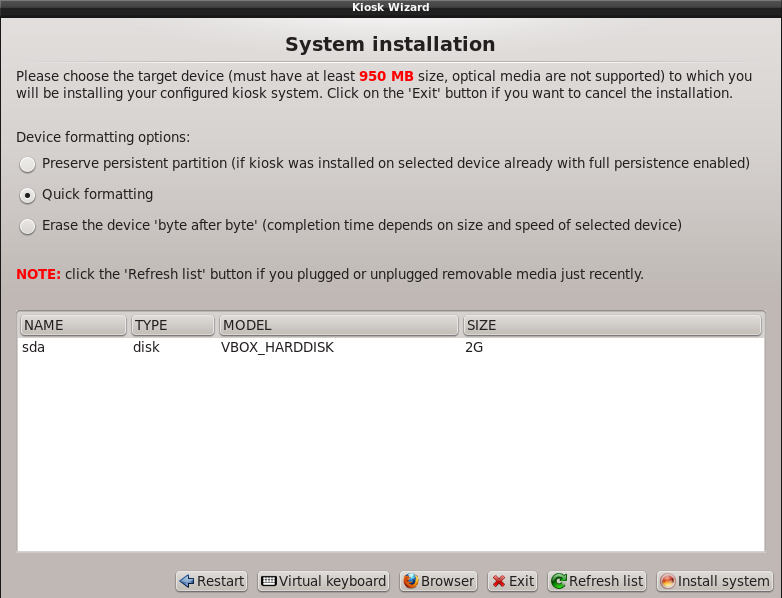
Once all choices are made the wizard will download additional components from our server, create the ISO, burn it on the selected device and perform a reboot. Please make sure you remove the installation media otherwise the kiosk wizard will be started again:

After a reboot your customized kiosk will be ready to use.